Welcome to the Create Inspiration Team’s April Party!
We are so excited to share some DIY Spring and Easter themed projects with you today. Before we jump into our featured tutorials, we have an exciting announcement….. Jessica Sprague’s new sister site, Snap Click Supply Company, is now officially LIVE! We love her new site, dedicated to bringing you the best collection of digital designs on the market.
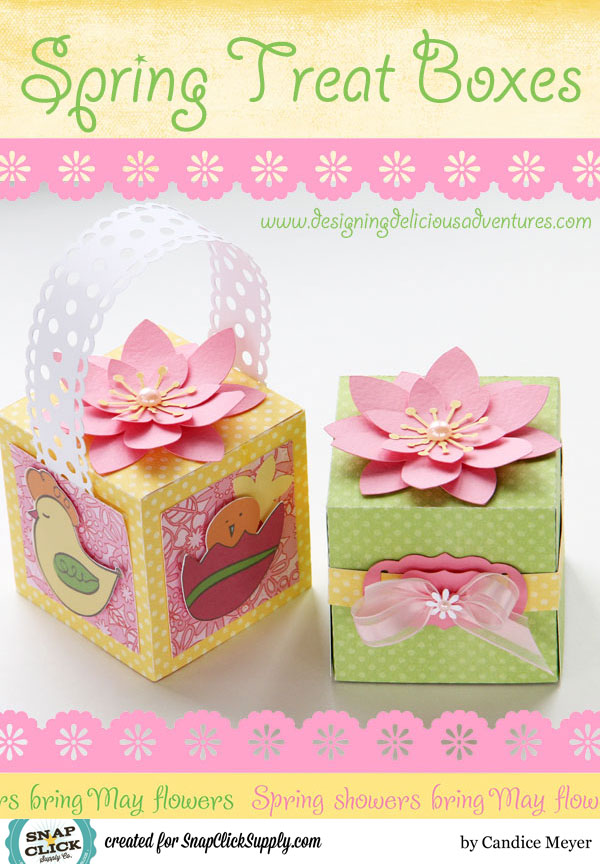
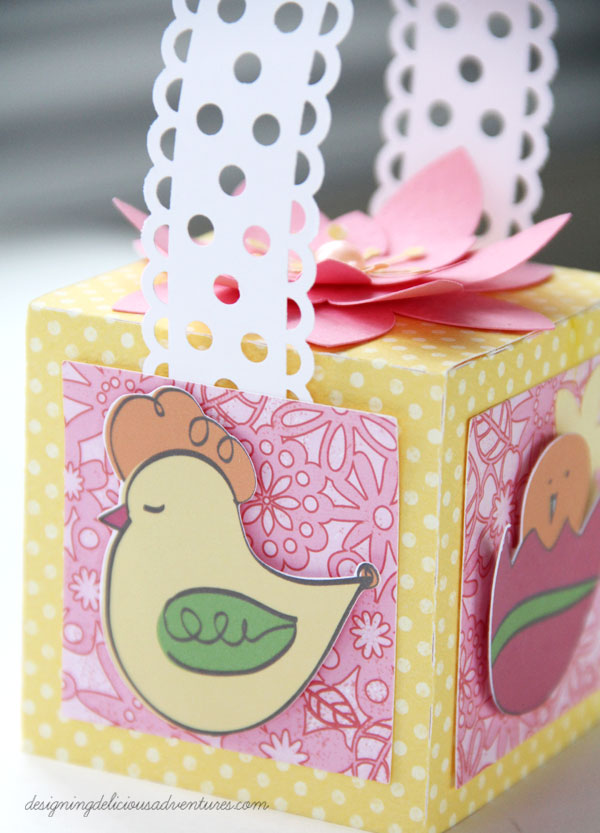
Who is ready for Easter? Here is an idea for a unique Easter basket and treat box– perfect for your dinner table setting!
Instructions for Making the Cool Chick Easter Basket:
1. Use your silhouette to construct a box shape using traditional scrapbook paper or printed digital files. (The pattern I used created a 2.75-inch x 2.75-inch cube.)
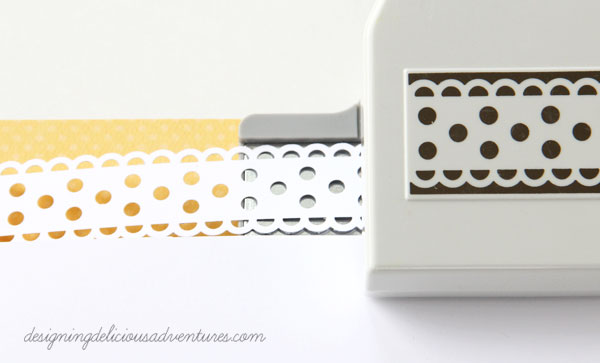
2. Create a handle for your cute Easter cube using a scalloped punch. Adhere to your project using double sided tape. (The ends will get covered up when you add patterned paper in step 4!)
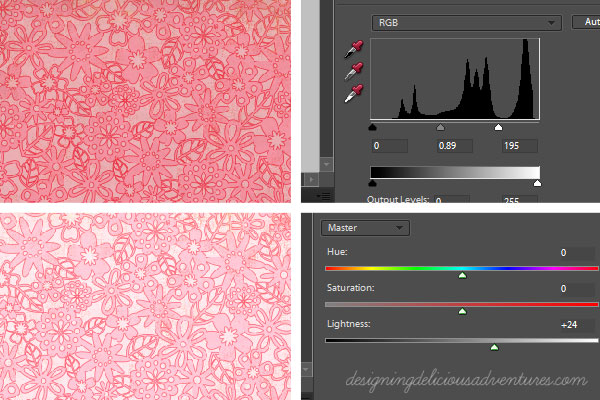
3. Open up the pink floral file from the Cottontail Papers collection in PSE. For this project, I decided to lighten the background by adjusting the levels and saturation layers of the image. (Side Note: It was such a light-bulb moment for me when Jessica explained how to tweak digital patterned paper using the saturation layer and colorize function during one of her classes. Be sure to check out all her scrapbooking classes for the full scoop on customizing your layouts!)
4. Print out your floral background and cut out 4 squares to fit the sides of your boxes. Adhere using double sided tape.
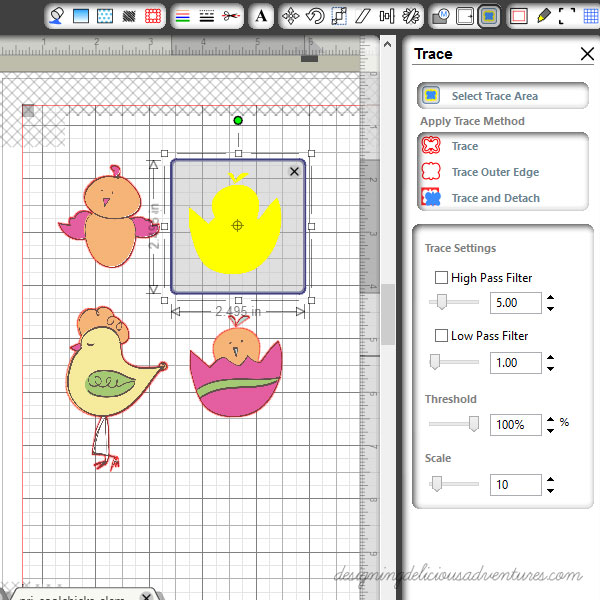
5. Open up 4 characters from the Cool Chicks Elements collection in your silhouette software. (I sized them to be about 2.5-inches tall for my cube.) You will want to trace the outer edges of each element and then use the print and cut features of the silhouette.
(A couple of helpful hints: Make sure your registration marks are on so you know where to place your elements on the page. Click on the “Trace” button from the top menu followed by the “Select Trace Area” button. Use your cursor to highlight one of the elements. Then, un-check the high pass filter and move your threshold all the way up to 100%. All that’s left is clicking the “Trace Outer Edge” button! Repeat these steps for all of your elements.) If you are new to the silhouette, I highly recommend Lori Whitlock’s class Silhouette Basics. This YouTube video will also walk you through how to print and cut using the silhouette.)
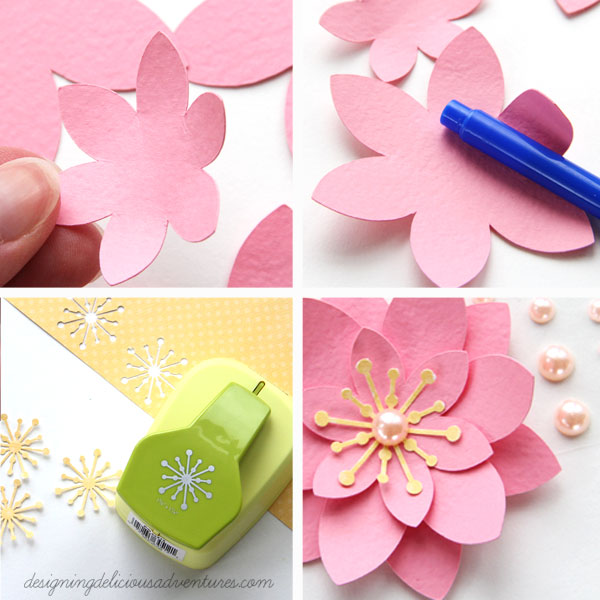
6. Time to embellish your cube! I mounted the Cool Chick elements to each side using foam tape and created a paper flower at the top. You could use flower punches or an SVG file, like the center shape from the Decorative Flowers collection, to cut out various petals! I gently curled each point with a pen to give my shape even more dimension. To finish the look, add a pink pearl to the center! (I attached each petal layer with a glue dot.)
7. Fill your “Easter Basket” with a surprise treat!
Instructions for Making the Spring Treat Box:
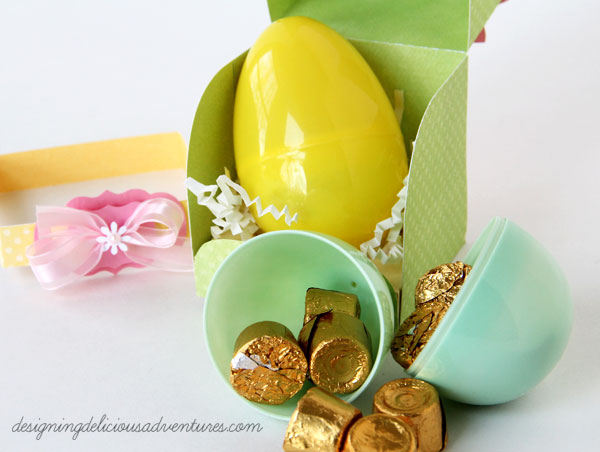
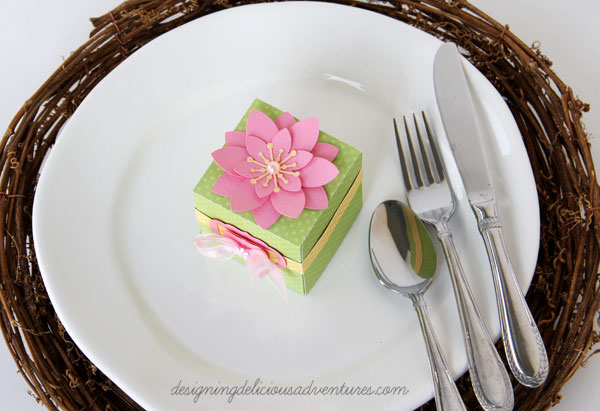
1. Download the No Mess Cupcake Box and cut out each element using the silhouette. (Lori Whitlock’s class is INVALUABLE for understanding how to group/ungroup pieces of a set like this!)
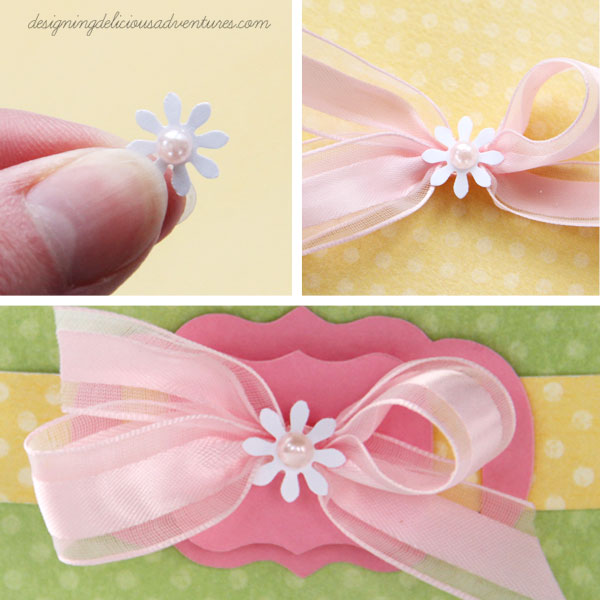
2. Embellish the center name-plate. I attached a tiny punched flower to the center of a bow using a glue dot.
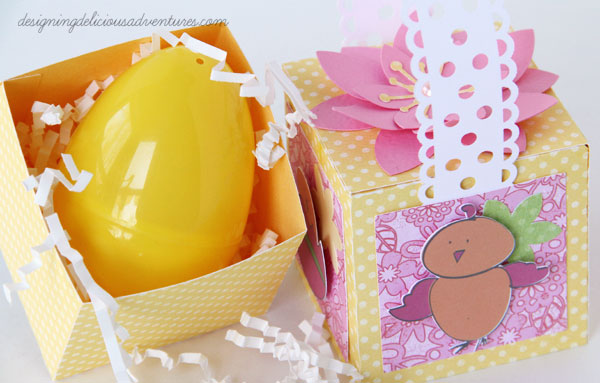
3. Instead of a cupcake, fill your box with a treat filled Easter egg!
Wouldn’t these little Spring treat boxes look adorable at each place-setting or even as place card holders?
You are going to LOVE what our team is sharing this month! Be sure to click on each photo link and prepare to be INSPIRED:



Leave a Reply