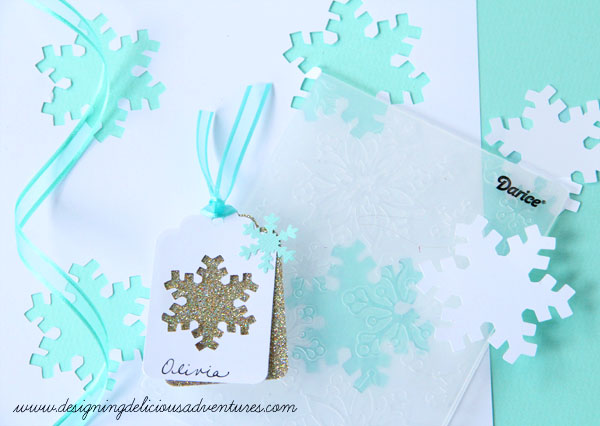
Tis the season… for creating cute gift tags, that is! These darling tags were actually made from paper scraps left behind by my Silhouette machine. All you need to do is punch out the shape outline left behind!
Then, punch an identical tag to pair beneath it and clip them together with ribbon. The negative space from the original silhouette cut-out provides a little window, which beautifully showcases a decorative paper underneath! I’ve seen this technique before on Pinterest but have never tried it myself using paper scraps!
The creative possibilities with this format are endless! On the second tag, you could use your favorite scrapbook paper, design a background out of watercolors, or even add some washi tape! The Thinking Closet posted this amazing tutorial for a gorgeous washi tape background. I used a snowflake embossing folder to add a little extra dimension to the top tag.
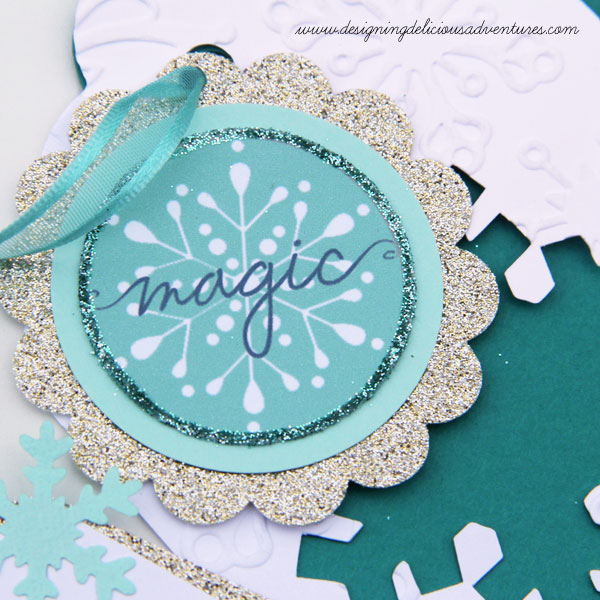
I adorned these tags with a festive medallion embellishment from the Winter Wishes collection. (Note: I adjusted the hue to match my aqua color palette using the “saturation” layer in Photoshop Elements.)
Edging the border with glitter gave this element a little extra sparkle!


Leave a Reply