Welcome to the Create Inspiration Team’s January Blog Party!
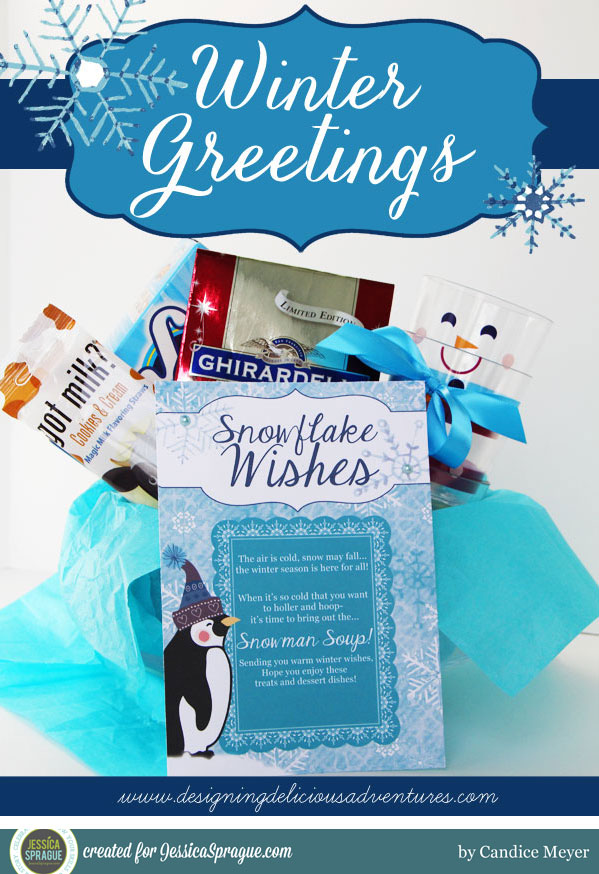
The temperatures might still be below freezing, but I have a cozy project to share today that will warm your heart. If you are looking for a fun gift to share this winter season, consider crafting a fun snowman note and tag from the Winter Wishes digital collection.
I paired these fun tags with some hot cocoa and chocolate goodies as a surprise treat for my neighbors. Here’s a look at some of the details:
To make the main graphic, start with a 5×7 blank document. Then, layer your paper, elements, and text to create a beautiful winter scene.
A couple of helpful tips:
- I used Carina Gardner’s Photo Tag2_6 to make my Snowflake wishes banner. Note: I utilized the stroke option to create a gentle navy outline around the whole shape.
- I clipped the snowflake elements to the upper banner so they were contained within the white space.
- I created a separate text box for each line of the snowman poem to easily manipulate the spacing.
- I used the paint brush feature to create a mound of “snow” under the penguin’s feet.
- I added a blue pearl the center of the banner snowflakes.
Jessica’s collection of Photoshop and digital scrapbooking classes are amazing for learning how to manipulate layers and create masks. They are full of invaluable tutorials that make this type of project super easy!
The cute poem is actually a combination of several phrases from THIS PAGE and THIS POST. Here’s my attempt at combining my favorite rhyming phrases:
The air is cold, the snow may fall… the winter season is here for all! When it’s so cold you want to holler and hoop, it’s time to bring out the Snowman Soup! Sending you warm winter wishes, hope you enjoy these treats and dessert dishes!
You could modify this version, use the inspiration phrases, or have fun coming up with your own rhymes!
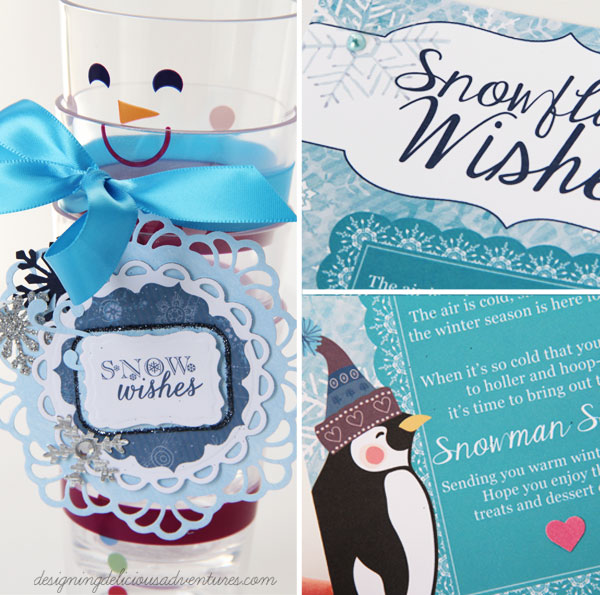
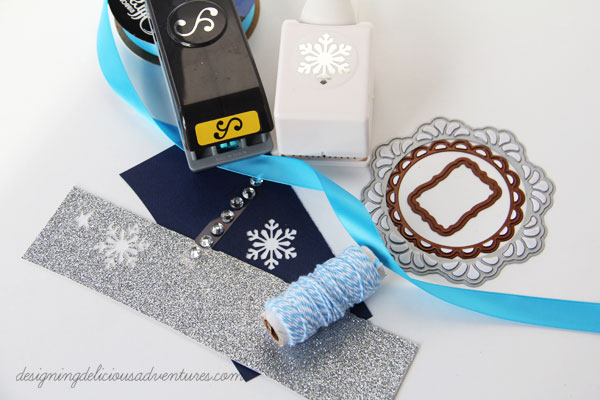
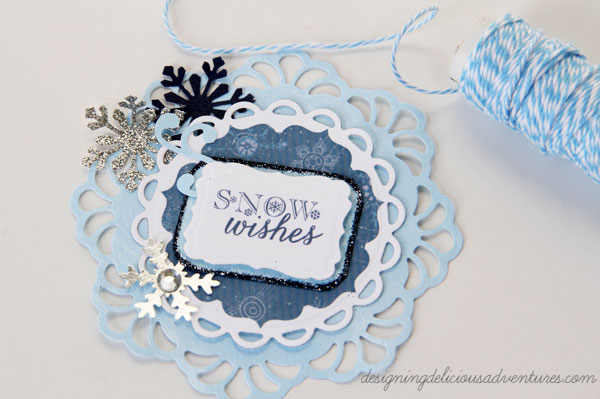
The circular winter wishes tag features glittered edges, layered Nestability die cut shapes, punches snowflakes, and a rhinestone!
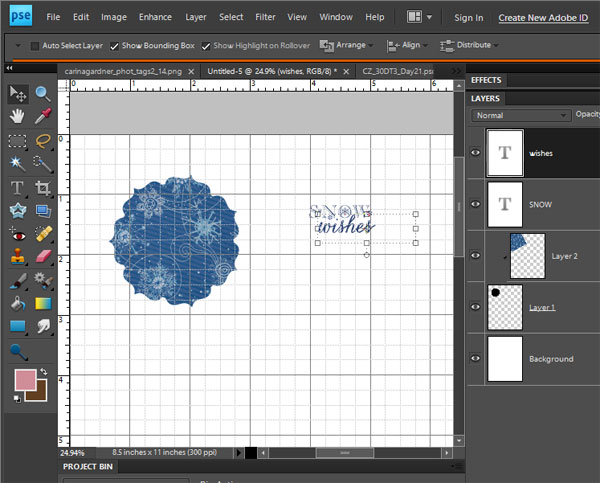
I started with Carina Gardner’s photo tag2_14 and sized this beautiful shape to take up about 4 one-inch squares on the background grid of my document. Then, I added Winter Wishes Starry Night paper. I also created a simple text box spelling out the words “Snow Wishes” in fun fonts, which would serve as my center embellishment.
All that’s left: Layering! I used nesting die shapes to cut out each of my digital elements to give further dimension and interest. I couldn’t resist adding some extra sparkle via punched snowflakes and a glittered border around the text “Snow Wishes.”
Cheers to crafting up some winter fun!
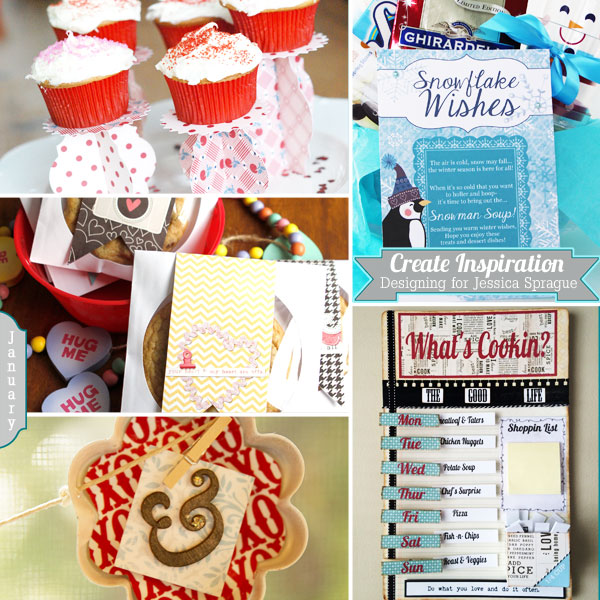
Want to see more gorgeous projects from our talented team? Be sure to click on each link below and prepare to be INSPIRED!
Chez Nous: Valentine Cookie Cutter Garland by Tammy Circeo
Bugjuiced: Menu Planning Board by Debbie Crowder
Designing Delicious Adventures: Winter Wishes by Candice Meyer **YOU ARE HERE**
Just a Pharmgirl: Valentine Cupcake Stands by Betsy Sammarco
Dinner Hero: Valentine’s Day Treats by Julie Walker


Leave a Reply